
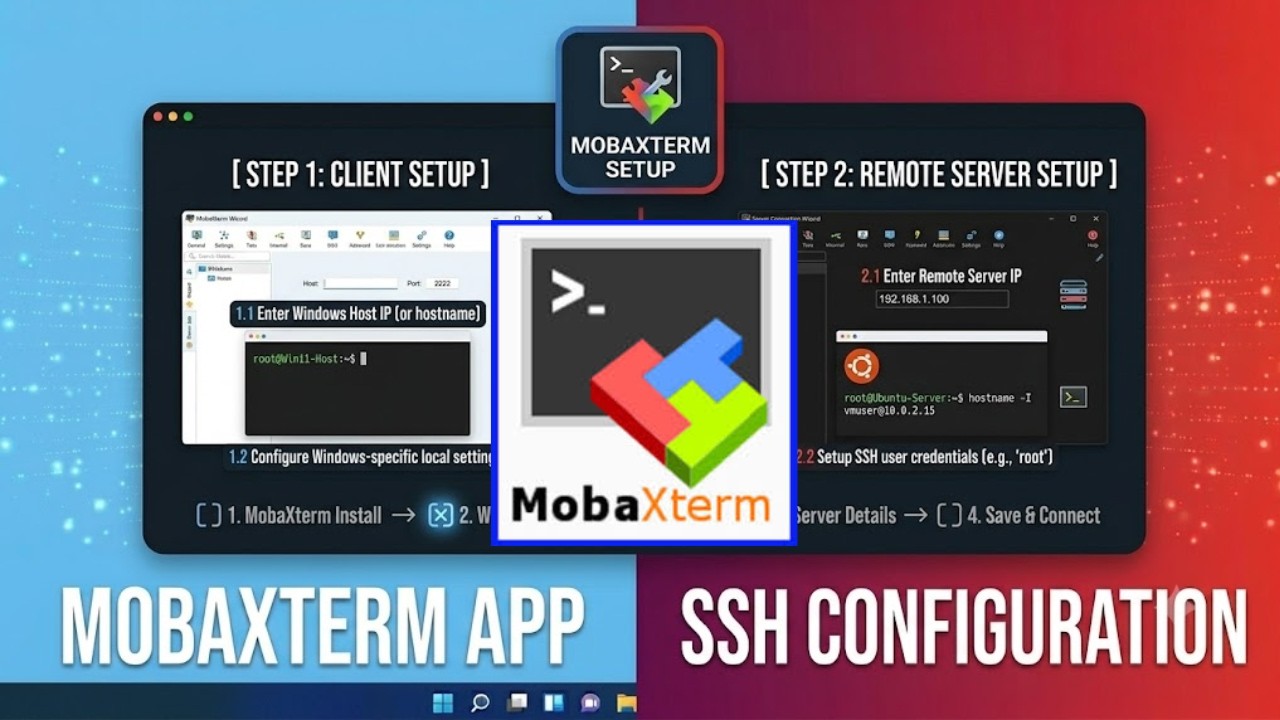
How to Install mobaXterm on Windows 11: Step-by-Step Guide
Getting mobaXterm running on Windows 11 takes about three minutes. Here's exactly how to do it — from download to your first SSH connection — with no steps skipped and no assumed knowledge.
Installing mobaXterm on Windows 11 is straightforward, but there are a couple of small decisions to make along the way — mainly whether you want the standard Installer or the Portable edition — and a few Windows security prompts that catch people off guard the first time. This guide walks you through the whole thing so nothing surprises you.
Watch: Full Installation Walkthrough
If you'd rather watch the process once before reading through it, this video covers the complete mobaXterm installation on Windows 11 — from download to first connection — in one go.
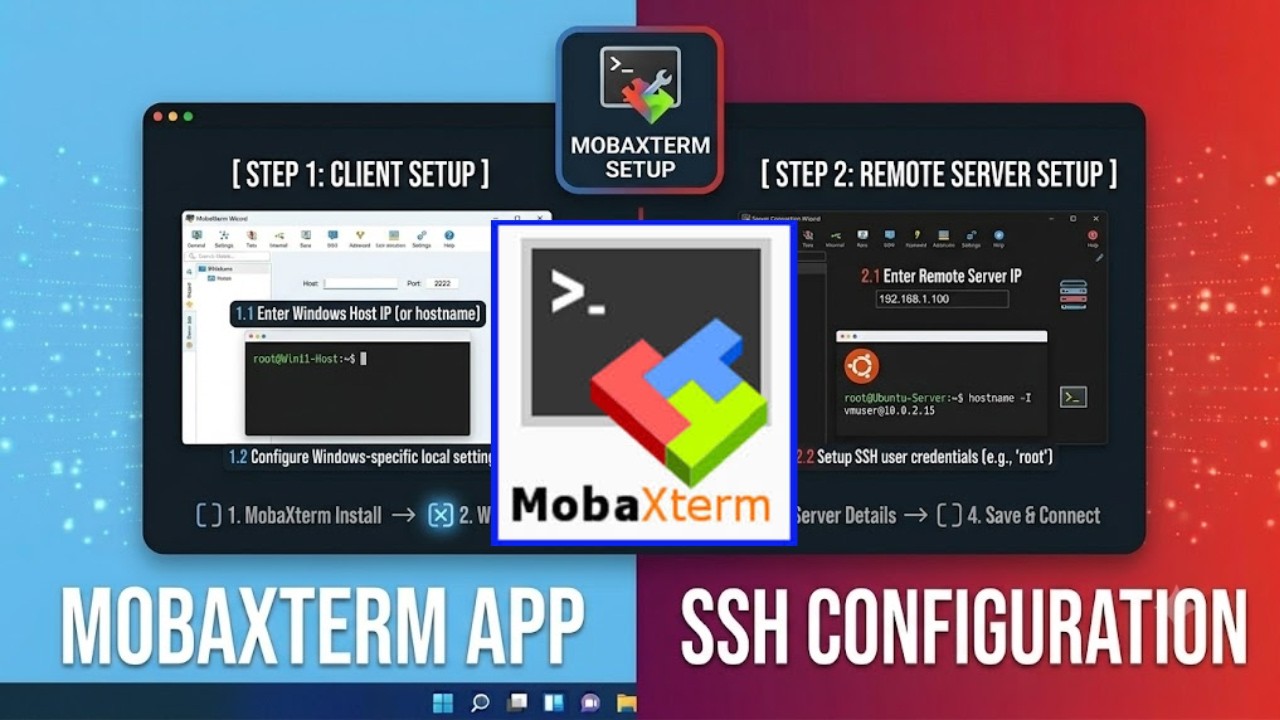
What You Need Before You Start
mobaXterm has very modest requirements. You almost certainly meet them already:
- Windows 11 (64-bit) — also works on Windows 10 64-bit
- About 200 MB of free disk space for the installer edition; the portable exe is around 60 MB on its own
- No admin rights needed if you choose the Portable edition — the installer does require them
- No additional software, no runtime dependencies, no Java — it's completely self-contained
That's genuinely it. No .NET version to check, no Visual C++ redistributable to hunt down. One download, one file, and you're running.
1 Download mobaXterm for Windows 11
Go to the mobaXterm downloads page. You'll see two main options: Installer and Portable. Here's how to choose:
| Edition | Best for | Admin rights needed? |
|---|---|---|
| Installer | Your personal or work machine — stays installed, gets auto-update notifications, creates Start Menu shortcuts | Yes |
| Portable | USB drives, shared or locked-down machines, keeping everything in one self-contained folder | No |
Click the edition you want. You'll download a .zip file.
Extract it — Windows 11 can do this natively, just right-click the zip
and choose Extract All.
2 Install the Installer Edition
Inside the extracted folder you'll find an .msi file.
Double-click it to start the setup wizard.
- Windows will show a User Account Control prompt asking if you want to allow the app to make changes. Click Yes. This is standard for any Windows application installer.
-
The setup wizard opens. Click Next, accept the licence
agreement, and click Next again. The default install
location (
C:\Program Files\Mobatek\MobaXterm) is fine for most people — no reason to change it. - Click Install. The process takes about 30 seconds.
- Click Finish. mobaXterm is now installed and you'll find it in the Start Menu.
.msi file, choosing Properties, and
clicking the Digital Signatures tab. To get past
SmartScreen, click More info then
Run anyway.
2 Set Up the Portable Edition (alternative)
If you went with Portable, there's no installer to run. Inside the
extracted zip is a single .exe file named something like
MobaXterm_Personal_25.x.exe.
-
Move the extracted folder somewhere permanent — for example
C:\Tools\MobaXterm\or your Documents folder. Don't run it from the Downloads folder; once you start saving sessions, the config files land next to the exe, and you don't want them buried in Downloads. -
Double-click the
.exe. No UAC prompt, no installation wizard — it just opens. - Optionally, right-click the exe and pin it to the taskbar or create a shortcut on your desktop for quick access.
3 First Launch
Open mobaXterm for the first time and you'll see the main interface: a large terminal area in the centre, a collapsible session panel on the left, and a toolbar across the top. It can look like a lot at first glance. Don't worry about most of it — you'll only regularly use about five things.
The left panel is the session tree. This is where your saved server connections live. Right now it's empty. The terminal area in the middle is a local bash session — you can run Unix commands locally here even before you've connected to any remote server, because mobaXterm ships with a built-in set of Unix tools.
Windows Firewall may ask whether to allow mobaXterm through on first launch — this is because the built-in X11 server needs a network port. Click Allow access. Without this, X11 forwarding won't work when you connect to remote servers.
4 Your First SSH Connection
Let's make sure everything works. This takes about sixty seconds.
- Click the Session button in the top-left toolbar — it looks like a small monitor with a plug icon.
- In the Session Settings window, click the SSH icon (it's the first option in the grid).
-
Fill in Remote host — your server's IP address or
hostname, e.g.
192.168.1.100ormyserver.example.com. -
Check Specify username and type your username —
ubuntu,root,ec2-user, whatever your server uses. - Click OK. mobaXterm connects, shows you the server's fingerprint on the first connection (click Accept), prompts for your password if needed, and drops you into the remote shell. The left sidebar will also show an SFTP file browser of the remote server — that appears automatically with every SSH session.
That's all there is to it. If you need more detail on sessions, X11 forwarding, SSH keys, or tunnels, the getting started guide covers each of those in depth.
Common Installation Problems
Windows Defender flagged the installer — is it safe?
Yes. Every mobaXterm release is digitally signed by Mobatek. The
Defender warning appears on freshly released versions because the
code-signing reputation score resets with each new build and takes
a few days to recover. To verify the signature yourself: right-click
the .msi → Properties → Digital Signatures tab. You'll
see Mobatek's certificate. Once you've verified it, click
Run anyway on the Defender warning.
SmartScreen says "Windows protected your PC" and won't let me run it
Same root cause as above. Click More info in the SmartScreen popup — a second button labelled Run anyway appears below the warning. Click that. If you don't see "More info", make sure you downloaded from the official downloads page and not a third-party mirror.
The Portable exe opens a blank window or crashes immediately
This almost always means the exe is inside a zip file that hasn't been fully extracted yet. Windows previews zip contents without extracting them, and running an exe from inside a zip doesn't work properly. Right-click the zip file, choose Extract All, pick a destination folder, then run the exe from that extracted folder.
Windows Firewall is blocking something — what should I allow?
On first launch, mobaXterm's built-in X11 server requests firewall access. Allow it on Private networks at minimum. If you skip this prompt, X11 forwarding won't work — graphical Linux applications won't display on your Windows desktop. You can re-enable it later via Windows Security → Firewall → Allow an app through Firewall and finding mobaXterm in the list.
How do I uninstall mobaXterm?
Installer edition: Go to Settings → Apps → Installed
apps, search for mobaXterm, and click Uninstall. Standard Windows
uninstall — it removes everything the installer placed.
Portable edition: Close mobaXterm, then delete the
folder. That's the entire uninstall. Nothing was written outside
that folder, so there's nothing else to clean up.
Where to Go Next
Now that mobaXterm is installed and running on Windows 11, here are the most useful next reads depending on what you need:
- Getting Started Guide — deeper walkthrough of SSH sessions, the SFTP panel, X11 forwarding, and the most useful keyboard shortcuts
- SSH Keys on Windows — stop typing passwords every time you connect; set up key-based authentication in about ten minutes
- Portable vs Installer — if you're still not sure you picked the right edition, this guide settles it
- Professional vs Free — if you're starting to save a lot of sessions and hitting the free tier limit, this explains what the Professional Edition adds
If you run into anything the above guides don't cover, the FAQ page handles the most common questions, and the contact page goes straight to a real person if you need direct help.